Import RMAs in bulk
When you have many returns to authorize at once — a product recall, or a backlog after a busy season — creating RMAs one at a time is slow. The Import button on the RMAs list takes a spreadsheet of returns and turns it into RMAs in a single pass, through a four-step wizard: 1. Upload → 2. Map Columns → 3. Validate → 4. Import.
Import only ever creates RMAs. It matches each row against an existing sales order, warehouse, and product, then groups the rows into new returns. It never edits an RMA that's already in the system, and it never creates the orders or products behind them.
Before you begin
- You need a spreadsheet — .csv, .tsv, .txt, .xlsx, or .xls — with one row per returned line (multiple lines on the same return are just multiple rows; see How rows become RMAs).
- Every order you reference must already exist and be fulfilled. The import matches on existing sales order numbers, warehouse names, and product SKUs — only shipped items are returnable, so unfulfilled orders won't have returnable lines.
- You need access to SKU.io with the RMAs list visible. (Bulk import runs through the shared data-import tool, which isn't gated by a dedicated returns permission — but you'll still want the returns permissions to approve and receive the RMAs it creates.)
1. Open the importer and get the template
Go to Orders → RMAs. In the top-right corner, next to Create RMA, click Import.
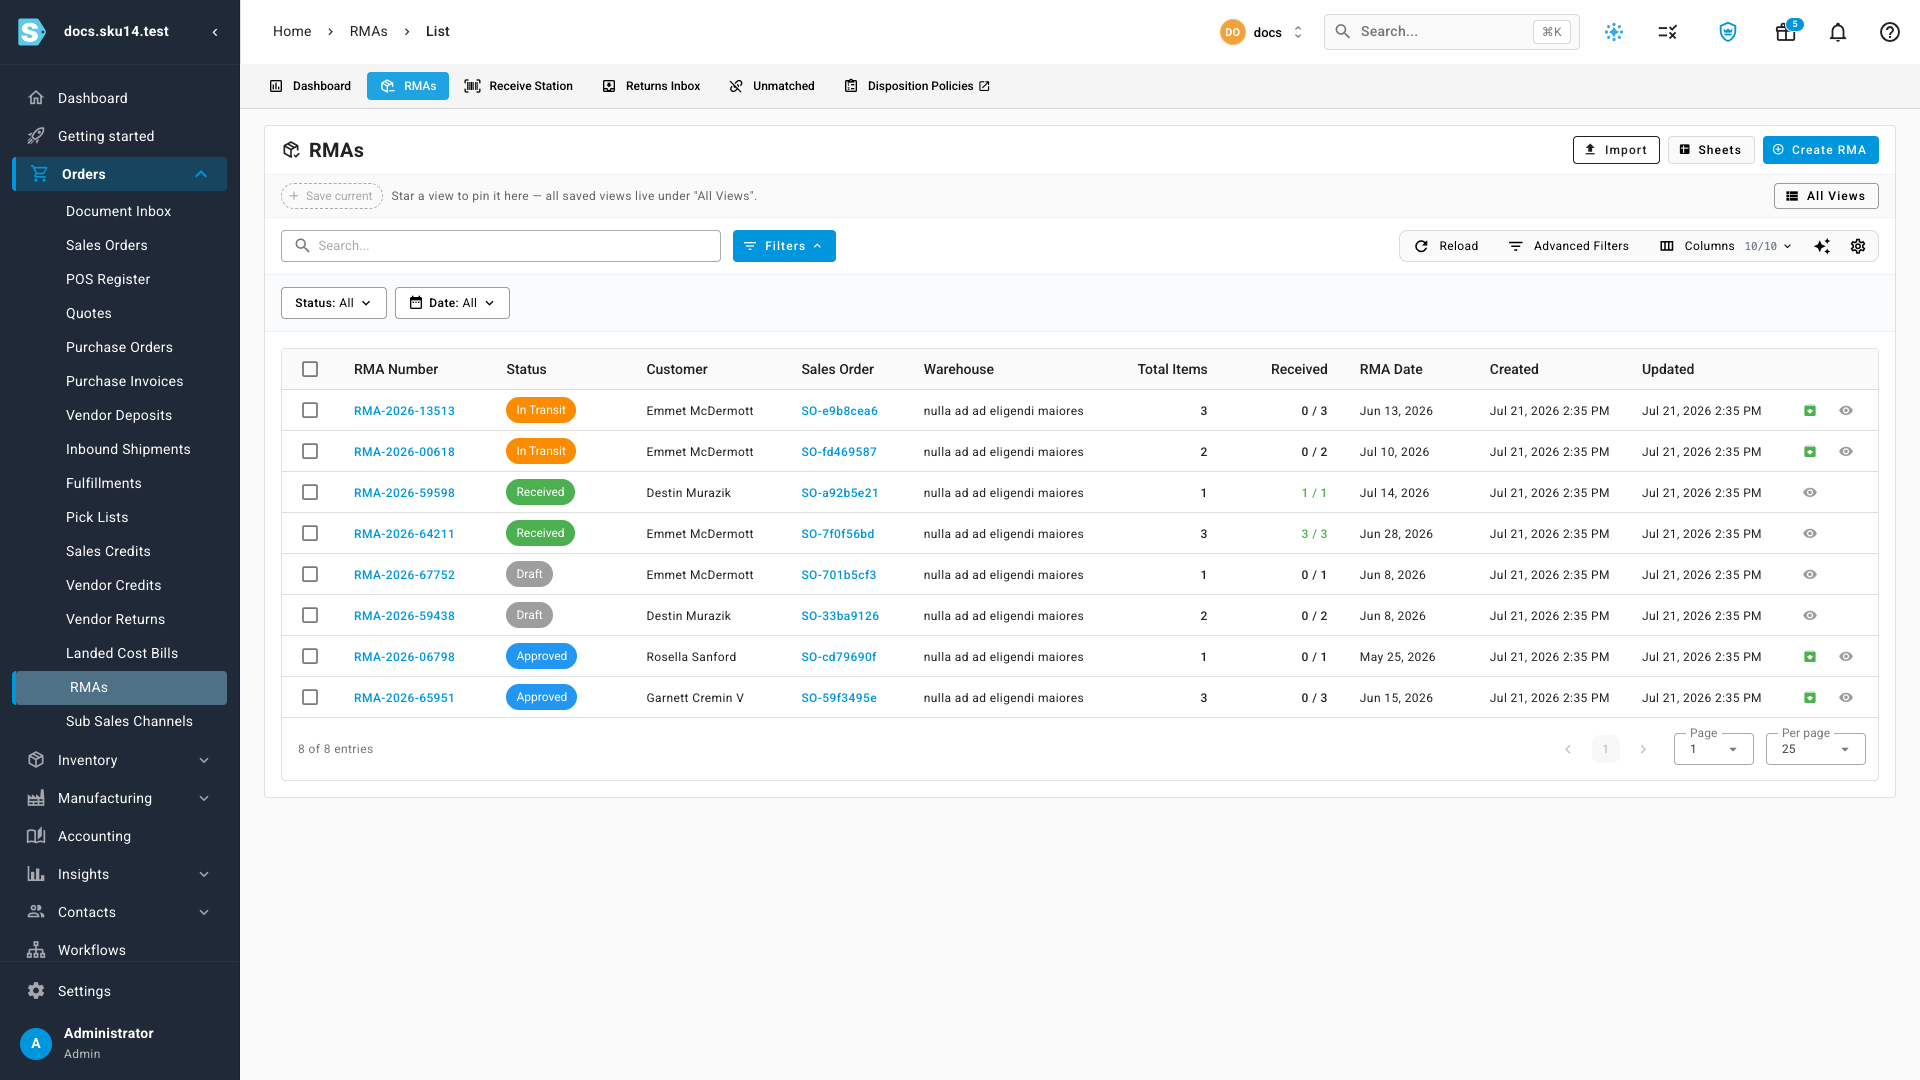
The Import RMAs modal opens on step 1. Upload. Before you upload anything, download the built-in Excel template — its headers are exactly the seven field labels below, so a file built from it maps cleanly with nothing to fix. The template downloads as rmas-import-template.xlsx.
2. Fill in the columns
Put one returned line on each row. Four columns are required; the other three are optional.
| Column | Required | Type | Accepted values / lookup | Notes |
|---|---|---|---|---|
| Sales Order Number | Yes | text | Must match an existing sales order number exactly. | Part of the grouping key — rows sharing this value (and the same warehouse) become one RMA. |
| Warehouse | Yes | text | Matched to a warehouse name (case-insensitive). | Part of the grouping key. The warehouse the goods come back to. |
| Product SKU | Yes | text | Matched to a product SKU (case-insensitive). | The product being returned. |
| Expected Quantity | Yes | number | Numeric, greater than 0 (rounded up to a whole number). | The quantity expected back on this line. |
| Return Reason | No | text | Matched to a return reason name (case-insensitive). | If the reason doesn't exist yet, it is auto-created — a warning tells you so it isn't a silent surprise. |
| RMA Date | No | date | Any parseable date. | The RMA header date. |
| Notes | No | text | Free text. | RMA / line notes. |
3. Upload or paste, then map your columns
On step 1. Upload, get your data in one of two ways:
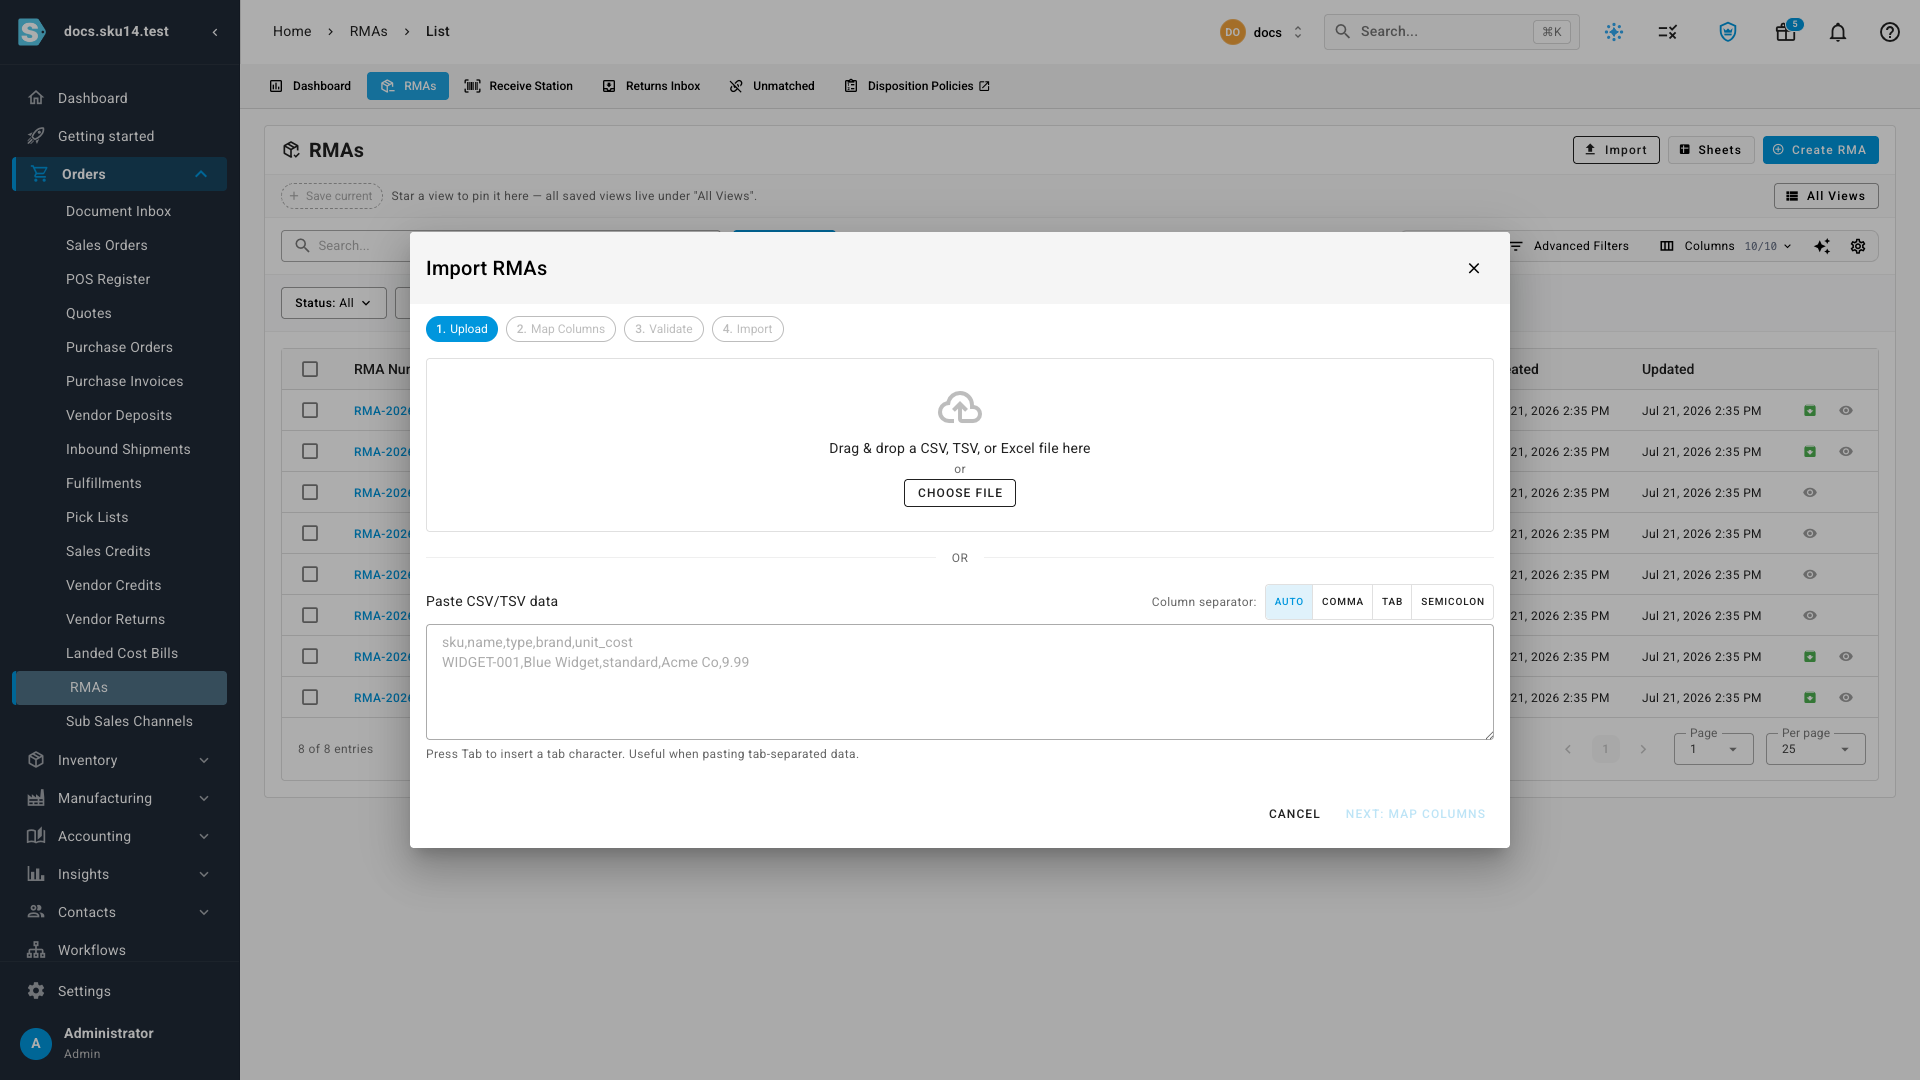
- Upload a file — drag & drop a .csv, .tsv, .txt, .xlsx, or .xls file onto the drop zone, or click Choose File.
- Paste text — paste CSV or TSV rows straight into the Paste CSV/TSV data box. Use the Column separator toggle (Auto / Comma / Tab / Semicolon) to tell the parser how your columns are split. Auto detects it for you; press Tab in the box to insert a real tab character when pasting tab-separated data.
The file is parsed in your browser, so you see your rows immediately. Click Next: Map Columns and match each column in your file to a SKU field. A file built from the template auto-maps; a file with your own headers just needs you to point each one at the right field. Then continue to Validate.
4. Review validation, then import
Validation runs as a queued job (it shows up in the job tray) and checks every row before anything is saved. You get a summary counting valid / errors / warnings so you can fix problems before committing. (In this summary every clean row counts as a new record; the actual split between new RMAs and lines added to a shared RMA — see How rows become RMAs — is reported in the import results after you run it, not in the pre-import validation.)
Import is partial, not all-or-nothing. On import, only rows with zero errors are committed — rows that error are collected and reported back to you while the rest still go through. You fix the flagged rows and re-import just those; you never have to re-run a whole clean file because of a few bad lines.
What counts as an error vs. a warning:
| Result | Examples | What happens |
|---|---|---|
| Error (row skipped) | "Sales order 'X' not found", warehouse not found, product SKU not found, quantity not numeric or ≤ 0. | The row is not imported. It's reported so you can fix and re-import it. |
| Warning (row still imported) | Return reason name doesn't exist yet. | The reason is auto-created and the row imports normally. |
The import itself also runs as a queued job, and its results persist on the import record. There's no fixed row cap in practice — large files are bounded by the request size and a roughly one-hour job timeout — so a genuinely large backlog imports fine.
How rows become RMAs
Rows are grouped into RMAs by Sales Order Number + Warehouse (case-insensitive):
- The first row of each group creates a new RMA — reported as created.
- Each subsequent row with the same key adds a line to that RMA — reported as updated (it's updating the RMA it just created, adding another line).
So a return with three different SKUs coming back on the same order and warehouse is three rows sharing one key: one created RMA plus two updated line-adds. There is no update of pre-existing RMAs — every import creates new RMAs, and it never edits an RMA already in the system.
After importing, the new RMAs appear in the list as Draft or Approved depending on your data, and you approve and receive them normally from there.
Round-trip with Google Sheets
Next to Import on the RMAs list is a Sheets menu — a live round-trip with Google Sheets:
- Push selected (or loaded) RMAs to a Google Sheet — one row per RMA line, the same seven columns as the import.
- Edit the returns in the sheet.
- Pull them back — the pull-back reuses this same importer and auto-applies the valid rows (no manual review step), so edits flow straight back into SKU.
Because there's no separate RMA file export, this Sheets push is the de-facto way to get your RMAs out to a spreadsheet in the first place.
Related
- Process a customer return (RMA) — approve and receive the RMAs once they're imported.
- RMA status reference — what Draft, Approved, and the other statuses mean for a freshly imported RMA.
Video transcript
Got a stack of returns to authorize at once? On the RMAs list, click Import. Download the template, fill in the order number, warehouse, SKU, and quantity for each returned line. Upload or paste your file, map the columns, and review the validation summary. Only clean rows import — errors are reported so you can fix and re-run them. Rows sharing an order and warehouse become one RMA, ready to approve and receive.